
티스토리 뷰
ComfyUI다음에 해봐야지.
Houdini + ComfyUI
TD + stable diffusion : Comfy UI
https://github.com/ltdrdata/ComfyUI-Manager?tab=readme-ov-file
GitHub - ltdrdata/ComfyUI-Manager
Contribute to ltdrdata/ComfyUI-Manager development by creating an account on GitHub.
github.com
여기를 따라하는데..
https://github.com/comfyanonymous/ComfyUI
GitHub - comfyanonymous/ComfyUI: The most powerful and modular stable diffusion GUI, api and backend with a graph/nodes interfac
The most powerful and modular stable diffusion GUI, api and backend with a graph/nodes interface. - comfyanonymous/ComfyUI
github.com
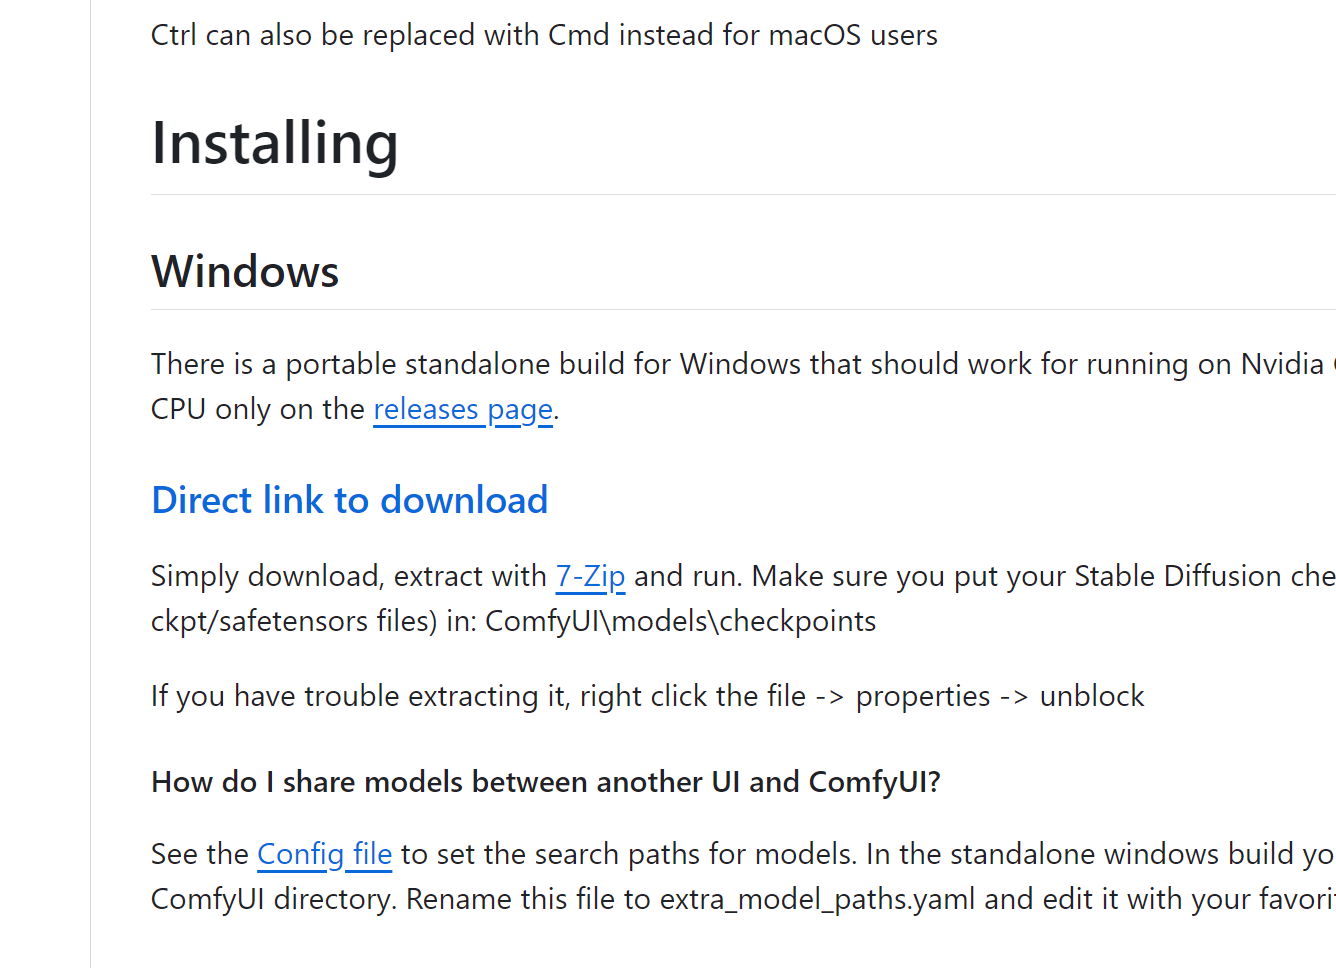
direct link to download 눌러서 받으면 바로됨.
ComfyUI_windows_portable_nvidia_cu121_or_cpu\ComfyUI_windows_portable\ComfyUI\models\vae
여기에 vea파일넣어줌
다음으로
ComfyUI_windows_portable_nvidia_cu121_or_cpu\ComfyUI_windows_portable\ComfyUI\models\checkpoints
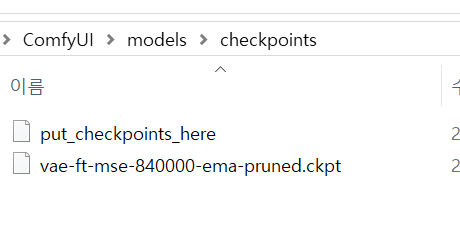
여기넣어줌. ckpt
실행

윈도우에 이거 접속됨.

생각보다 금방셋팅..
https://comfyanonymous.github.io/ComfyUI_examples/img2img/
Img2Img Examples
Examples of ComfyUI workflows
comfyanonymous.github.io
img2img할건가봄
와 같은 이미지를 로드하고 VAE를 사용하여 잠재 공간으로 변환한 다음 1.0보다 낮은 노이즈 제거로 샘플링하는 방식으로 작동합니다. 노이즈 제거는 이미지에 추가되는 노이즈의 양을 제어합니다. 노이즈 제거가 낮을수록 노이즈가 더 적게 추가되고 이미지가 덜 변경됩니다.
입력 이미지는 입력 폴더에 넣어야 합니다.
이것은 간단한 img2img 워크플로의 모습입니다. 기본 txt2img 워크플로와 동일하지만 노이즈 제거가 0.87로 설정되고 로드된 이미지가 빈 이미지 대신 샘플러에 전달됩니다.

1. 이미지 그냥 드래그엔드롭 + vae encoder

2. 더블 클릭 하면 노드 만들 수 있음
3.load vae
그림 보고 대충 맞게 연결하면됨.
4.sampler 수치조정
프롬프트 작성해도됨.
오류나는경우 checkpoint 다시 받아보길.
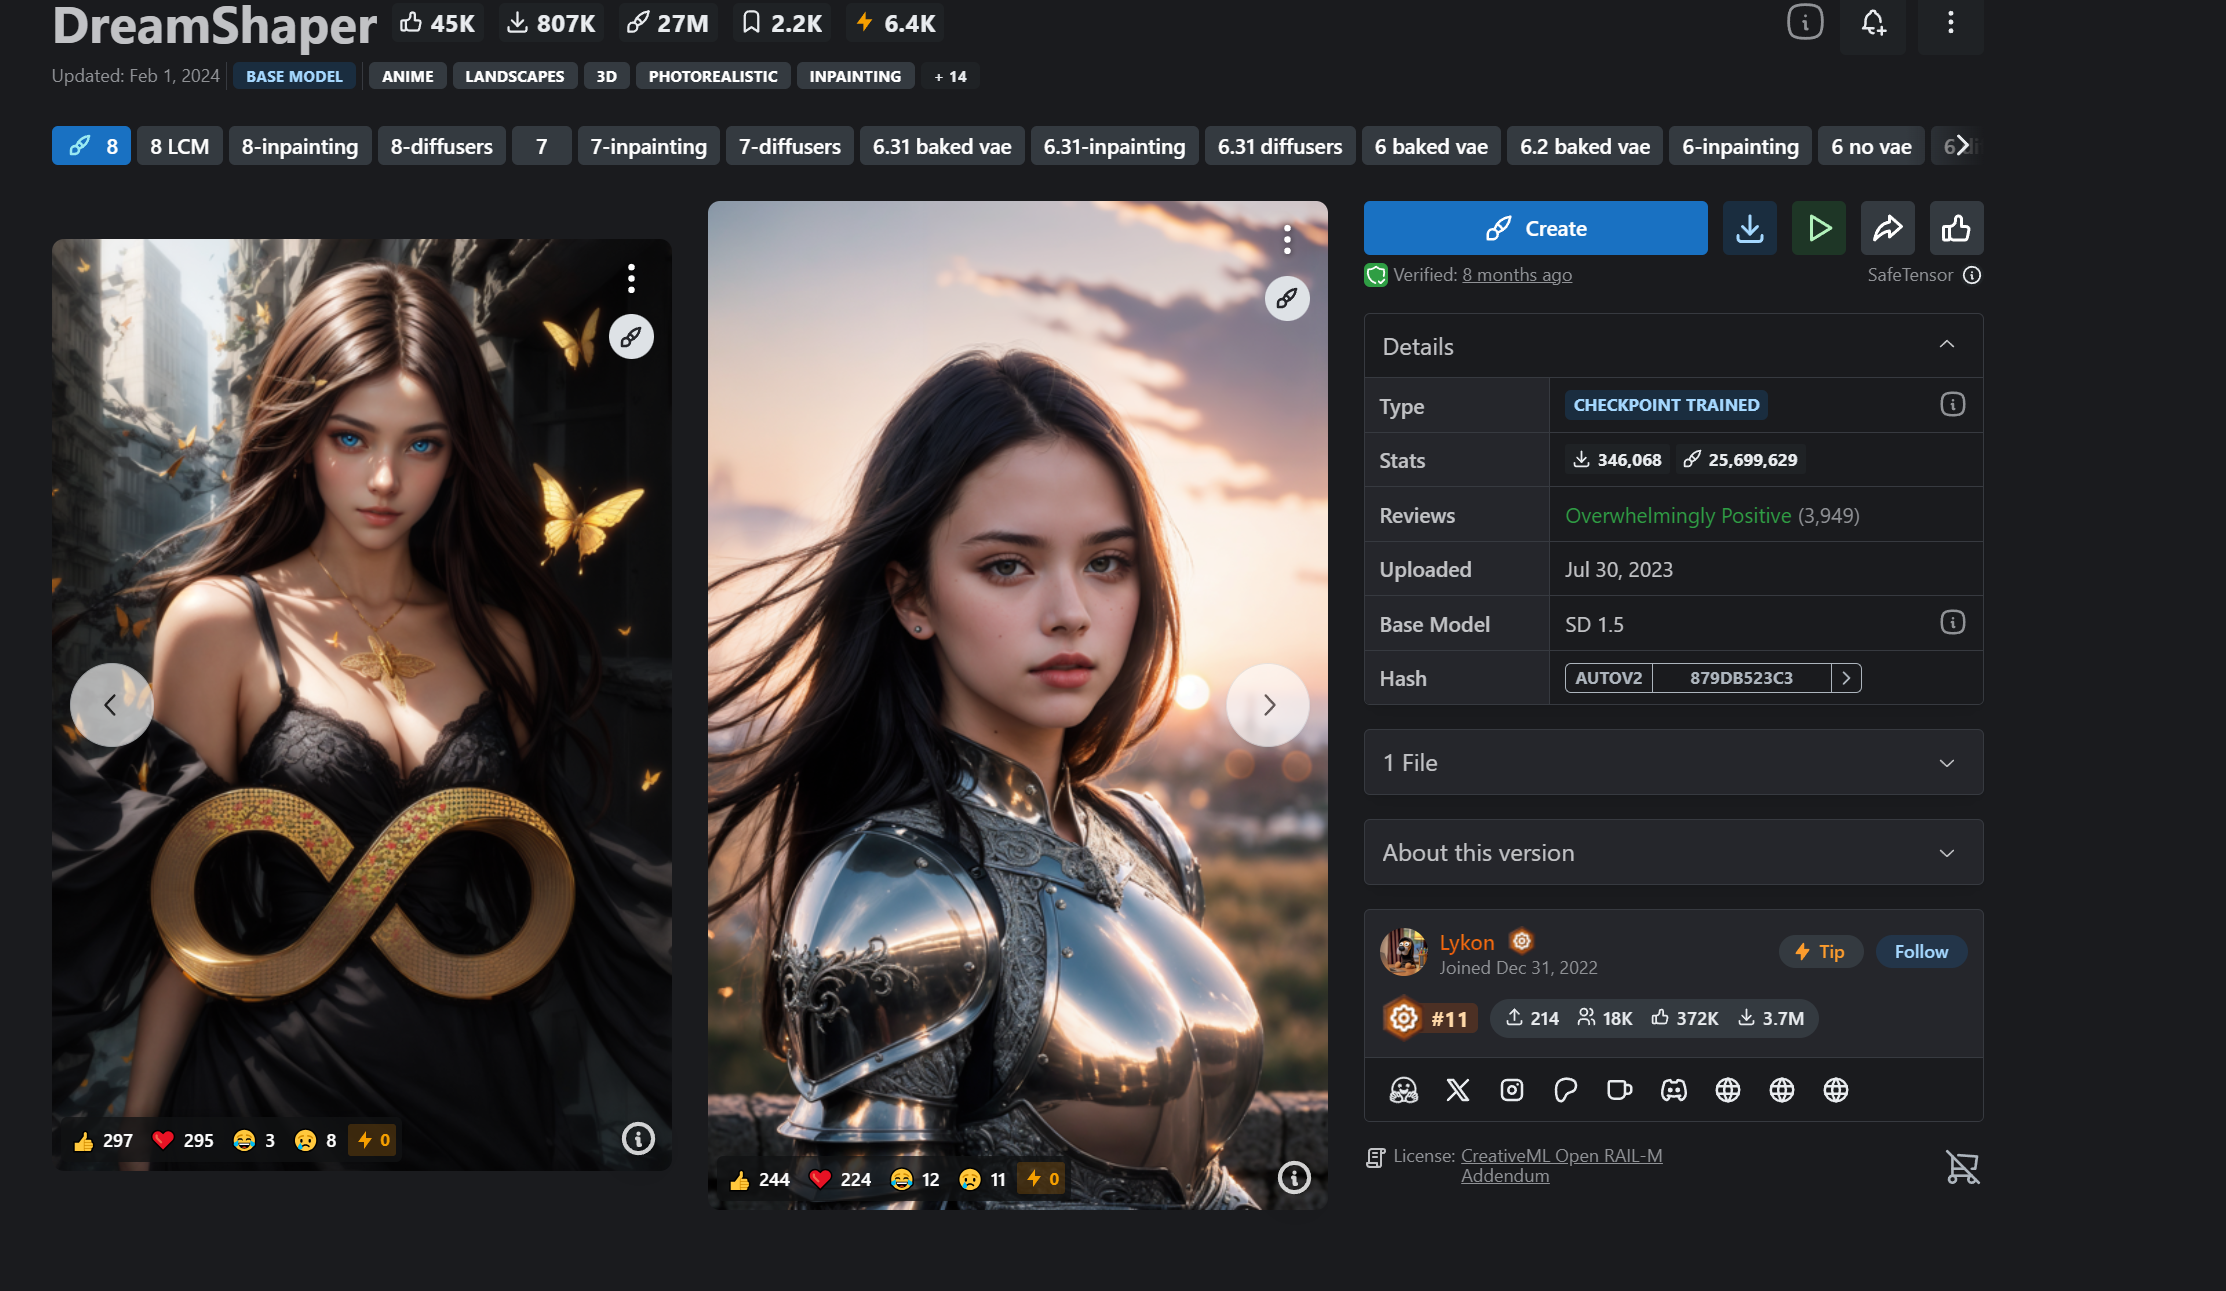
https://civitai.com/models/241415/picxreal

와아 된다.
다음 터디로 보내기
'TouchDesigner' 카테고리의 다른 글
| TouchDesinger_motor_arduino (0) | 2024.03.30 |
|---|---|
| Touchdesigner_ AI model 불러오기 (.pth) (0) | 2024.03.17 |
| Touchdesigner _ TD에서 python lib 즉시 설치 노드 (0) | 2024.03.16 |
| stablediffusion_touchdesigner (1) | 2024.02.24 |
| 터치디자이너 : Web Client DAT : API 연결 (NSRDB 데이터) (0) | 2024.02.23 |
- Total
- Today
- Yesterday
- Java
- opencv
- opticalflow
- houdini
- colab
- VR
- Arduino
- 4d guassian splatting
- CNC
- MQTT
- TouchDesigner
- zclaw
- RNN
- ESP32
- Midjourney
- MCP
- VFXgraph
- sequelize
- 유니티
- three.js
- docker
- AI
- 라즈베리파이
- OpenClaw
- Unity
- 후디니
- DeepLeaning
- Express
- node.js
- Python
| 일 | 월 | 화 | 수 | 목 | 금 | 토 |
|---|---|---|---|---|---|---|
| 1 | 2 | 3 | 4 | |||
| 5 | 6 | 7 | 8 | 9 | 10 | 11 |
| 12 | 13 | 14 | 15 | 16 | 17 | 18 |
| 19 | 20 | 21 | 22 | 23 | 24 | 25 |
| 26 | 27 | 28 | 29 | 30 |