
티스토리 뷰
https://076923.github.io/posts/Python-pytorch-10/
Python Pytorch 강좌 : 제 10강 - 모델 저장/불러오기(Model Save/Load)
모델 저장/불러오기(Model Save/Load)
076923.github.io
모델 저장Permalink
torch.save(model, f'./model.pt')모델 저장 함수(torch.save)를 활용해 모델을 저장합니다.
torch.save(model, path)는 모델(model)의 정보를 경로(path)에 저장합니다. SimpleRNN이 model_definitions.py라는 파일에 있는 경우 모든 모델 불러오기다.
모델 불러오기Permalink
import torch
from torch import nn


class CustomModel(nn.Module):
    def __init__(self):
        super(CustomModel, self).__init__()
        self.layer = nn.Linear(2, 1)

    def forward(self, x):
        x = self.layer(x)
        return x

device = "cuda" if torch.cuda.is_available() else "cpu"
model = torch.load("model.pt", map_location=device)
print(model)

with torch.no_grad():
    model.eval()
    inputs = torch.FloatTensor([[1 ** 2, 1], [5 **2, 5], [11**2, 11]]).to(device)
    outputs = model(inputs)
print(outputs)결과CustomModel(
(layer): Linear(in_features=2, out_features=1, bias=True)
)
tensor([[ 1.4342],
[ 69.2052],
[357.3152]])
BUT
상태 사전 저장 및 로드: 이식성 ! 전체 모델 객체 대신 모델의 상태 사전(model.state_dict())만 저장하고 로드
# Saving
torch.save(model.state_dict(), 'model_state_dict.pt')

# Loading
model = SimpleRNN(...)  # Instantiate the model
model.load_state_dict(torch.load('model_state_dict.pt'))
model.eval()
위는 코랩에서
아래는 터디에서 ******
import torch
import torch.nn as nn

# SimpleRNN 모델 클래스를 정의합니다.
class SimpleRNN(nn.Module):
    def __init__(self, input_size, hidden_size, output_size, num_layers, bidirectional):
        super(SimpleRNN, self).__init__()
        self.input_size = input_size
        self.hidden_size = hidden_size
        self.output_size = output_size
        self.num_layers = num_layers
        self.bidirectional = bidirectional
        self.rnn = nn.RNN(input_size, hidden_size, num_layers=num_layers,
                          bidirectional=bidirectional, batch_first=True)
        self.fc = nn.Linear(hidden_size * (2 if bidirectional else 1), output_size)

    def forward(self, x):
        # 초기 hidden state를 준비합니다.
        h0 = torch.zeros(self.num_layers * (2 if self.bidirectional else 1),
                         x.size(0), self.hidden_size).to(x.device)
        out, _ = self.rnn(x, h0)
        out = self.fc(out[:, -1, :])  # 마지막 타임 스텝의 출력만 사용
        return out

def onStart():
    device = torch.device("cuda" if torch.cuda.is_available() else "cpu")
    print("CUDA Available:", torch.cuda.is_available())

    # 모델 인스턴스를 생성하고, 디바이스로 이동시킵니다.
    model = SimpleRNN(input_size=1, hidden_size=4, output_size=2, num_layers=1, bidirectional=True)
    model.to(device)

    # 상태 딕셔너리를 로드하여 모델에 로드합니다.
    model_state_dict = torch.load("my_rnn_model_01.pt", map_location=device)
    model.load_state_dict(model_state_dict)

    # 모델을 평가 모드로 설정합니다.
    model.eval()

    # 예측을 수행합니다.
    with torch.no_grad():
        # 입력 텐서의 형태를 [1, sequence_length, input_size]로 조정
        # 여기서 sequence_length = 1, input_size = 1
        input_tensor = torch.tensor([[[27.4]]], device=device)
        output = model(input_tensor)
        # output은 [1, 2] 형태의 텐서이므로, 각 값을 추출하려면 indexing을 사용합니다.
        sin_value, cos_value = output[0]  # 첫 번째 (그리고 유일한) 배치 항목의 두 출력 값을 얻습니다.
        print(f"Output - Sin Value: {sin_value.item()}, Cos Value: {cos_value.item()}")
결과


start -pulse 누름
**가상환경 base1
**td_pip : 파이썬 인스톨
https://ing-min.tistory.com/233
Touchdesigner _ TD에서 python lib 즉시 설치 노드
https://youtu.be/_U5gcTEsupE excute 코드 import sys import os import platform def onStart(): user = 'ㅇㅇㅇ' # Update accordingly condaEnv = 'ㅇㅇ' # Update accordingly if platform.system() == 'Windows': if sys.version_info.major >= 3 and sys.versio
ing-min.tistory.com
결론.
RNN돌려서 온도 얻기 . TABLE에 저장
# Import necessary libraries
import torch
import torch.nn as nn
import math

# Declare global variables for sine and cosine values
global sin_value
global cos_value
sin_value = 0
cos_value = 0

# Define the SimpleRNN model class
class SimpleRNN(nn.Module):
    def __init__(self, input_size, hidden_size, output_size, num_layers, bidirectional):
        super(SimpleRNN, self).__init__()
        self.input_size = input_size
        self.hidden_size = hidden_size
        self.output_size = output_size
        self.num_layers = num_layers
        self.bidirectional = bidirectional
        self.rnn = nn.RNN(input_size, hidden_size, num_layers=num_layers,
                          bidirectional=bidirectional, batch_first=True)
        self.fc = nn.Linear(hidden_size * (2 if bidirectional else 1), output_size)

    def forward(self, x):
        h0 = torch.zeros(self.num_layers * (2 if self.bidirectional else 1),
                         x.size(0), self.hidden_size).to(x.device)
        out, _ = self.rnn(x, h0)
        out = self.fc(out[:, -1, :])  # Use only the last time step output
        return out

# Called when the script starts
def onStart():
    global sin_value, cos_value
    device = torch.device("cuda" if torch.cuda.is_available() else "cpu")
    print("CUDA Available:", torch.cuda.is_available())

    # Create and load the model
    model = SimpleRNN(input_size=1, hidden_size=4, output_size=2, num_layers=1, bidirectional=True)
    model.to(device)
    model_state_dict = torch.load("my_rnn_model_01.pt", map_location=device)
    model.load_state_dict(model_state_dict)
    model.eval()

    # Make a prediction
    with torch.no_grad():
        input_tensor = torch.tensor([[[27.4]]], device=device)  # Adjust input tensor shape
        output = model(input_tensor)
        sin_value, cos_value = output[0].cpu().numpy()  # Extract sin and cos values
        print(f"Output - Sin Value: {sin_value}, Cos Value: {cos_value}")

# Placeholder functions for other events
def onCreate():
    return

# Called when the script exits
def onExit():
    global sin_value, cos_value
    # Convert sin and cos values to time
    theta = math.atan2(sin_value, cos_value)
    if theta < 0:
        theta += 2 * math.pi
    hours = (theta / (2 * math.pi)) * 24
    hours_int = int(hours)
    minutes = int((hours - hours_int) * 60)

    # Update a Table DAT with the time
    tableDAT = op('table1')  # Ensure there is a Table DAT named 'table1'
    tableDAT.clear()
    tableDAT.appendRow(['Hour', 'Minute'])
    tableDAT.appendRow([hours_int, minutes])
    print(hours_int, minutes)
(여기서부턴 실패)
https://github.com/DBraun/PyTorchTOP-cpumem
GitHub - DBraun/PyTorchTOP-cpumem: PyTorch / libtorch in TouchDesigner based on the CPUMemoryTOP example.
PyTorch / libtorch in TouchDesigner based on the CPUMemoryTOP example. - DBraun/PyTorchTOP-cpumem
github.com
*** 그냥 이거다운받자. *(실패함. 안됨)
python 3.9.5
- gpu정보
- NVIDIA GeForce RTX 3080 Ti
cuda v11 ****
cudatoolkit도 올바른 버전으로 받기
cudadnn도
visualstudio는 c++ 설치
********TouchDesinger 2021이상버전에서안됨. 2020받음...............

***LibTorch 다운로드
여기서 중요한점은 cuda 12버전은 안된다는것. 하루날림.
cuda 11버전으로 다시 다 받고, 12버전지우고 . 재부팅하고
cuda에 맞게 pytorch랑 libtorch 받아야함. 둘은 다름.
https://pytorch.org/ 에서 다운로드, 1.7.1(안정), Windows, LibTorch, C++/Java, CUDA 11.0
libtorch 는 압축파일인데 올바른 경로에 넣어주고 .환경변수 설정까지해줘야함.
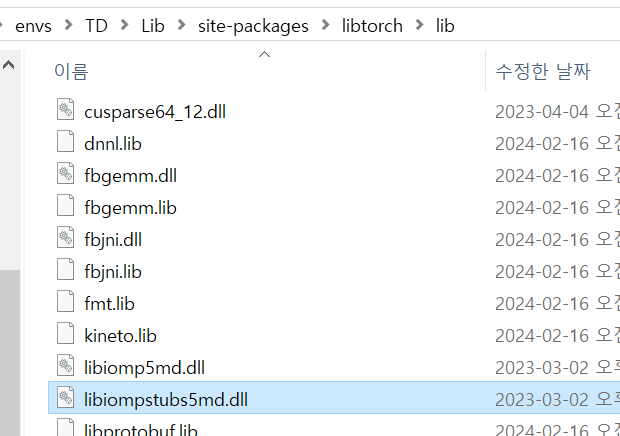
.conda\envs\TD\Lib\site-packages\libtorch
나는 여기에 넣어줬음

TouchDesigner 통합
- TouchDesigner 수정: TouchDesigner 설치 디렉터리의 libiomp5md.dll을 LibTorch lib 폴더의 파일로 교체하여 호환성 문제를 해결하세요.
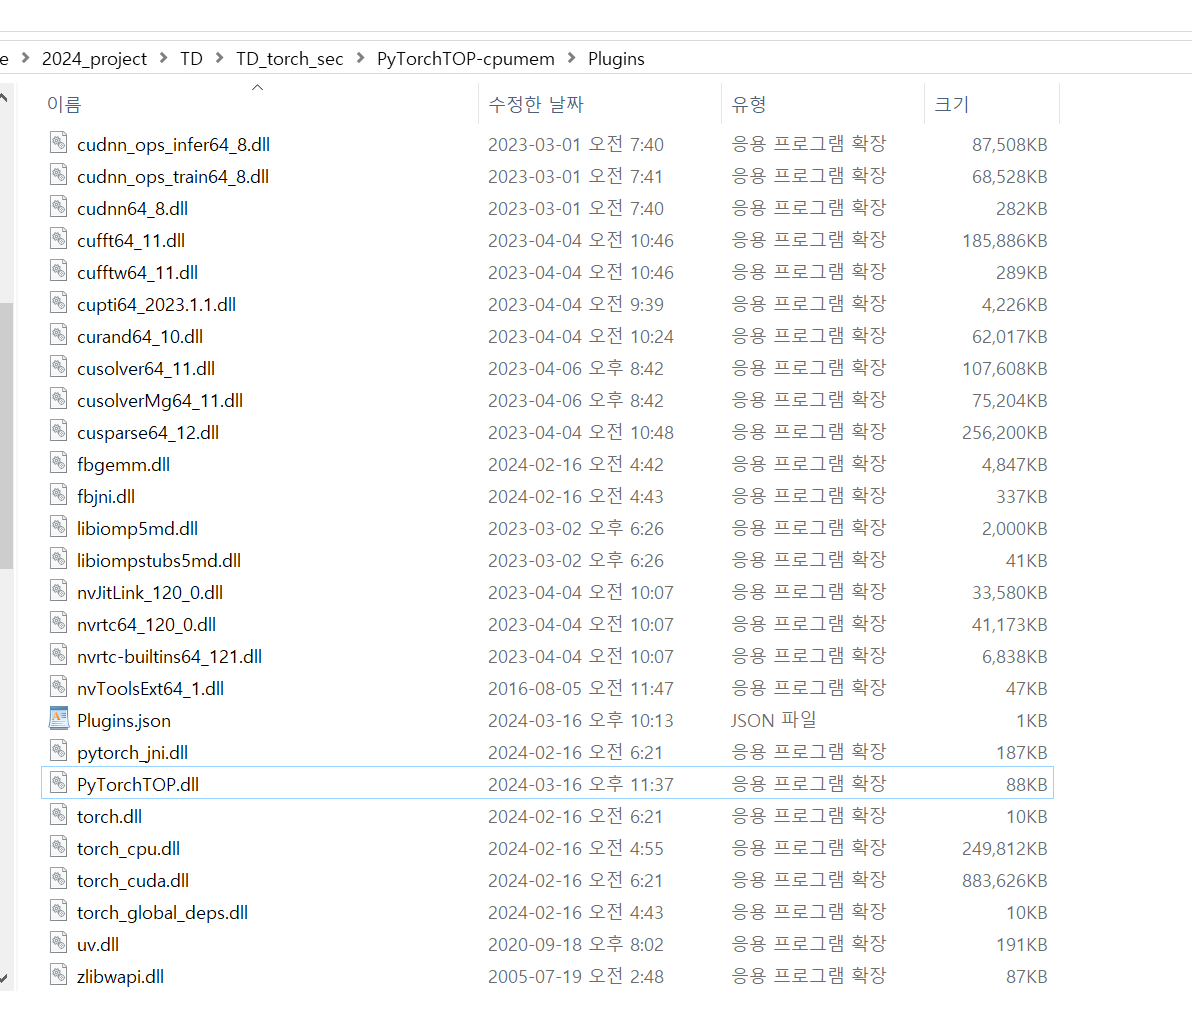
- PyTorchTOP 플러그인: 지정된 저장소의 릴리스 페이지에서 PyTorchTOP.dll을 다운로드하여 LibTorch의 필수 DLL 파일과 함께 저장소의 플러그인 폴더에 넣습니다.
build 폴더생성

mkdir build_release
cd build_release
cmake -DCMAKE_PREFIX_PATH=/path/to/libtorch ..
cmake -DCMAKE_PREFIX_PATH="C:\Users\-----\.conda\envs\TD\Lib\site-packages\libtorch" ..

vcxproj 경로수정 (2개있음.)

비주얼 스튜디오의 경우:
- 프로젝트 속성을 엽니다.
- “구성 속성” > “C/C++” > “언어” 섹션으로 이동하세요.
- “C++ 언어 표준”을 C++17 또는 /std:c++17로 설정합니다.
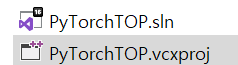
.sln 비쥬얼스튜디오로 열고
F5

'TouchDesigner' 카테고리의 다른 글
| 터치디자이너 : 아두이노 _ 온습도 , 조도 //시리얼 통신 (2) | 2024.04.19 |
|---|---|
| TouchDesinger_motor_arduino (0) | 2024.03.30 |
| Touchdesigner _ StableDiffusion :Comfy UI (0) | 2024.03.16 |
| Touchdesigner _ TD에서 python lib 즉시 설치 노드 (0) | 2024.03.16 |
| stablediffusion_touchdesigner (1) | 2024.02.24 |
- Total
- Today
- Yesterday
- opticalflow
- 후디니
- 유니티
- DeepLeaning
- houdini
- Unity
- Midjourney
- MQTT
- RNN
- Express
- node.js
- sequelize
- VR
- ESP32
- Python
- 라즈베리파이
- MCP
- colab
- 4d guassian splatting
- VFXgraph
- AI
- CNC
- Arduino
- three.js
- Java
- opencv
- docker
- TouchDesigner
- OpenClaw
- zclaw
| 일 | 월 | 화 | 수 | 목 | 금 | 토 |
|---|---|---|---|---|---|---|
| 1 | 2 | 3 | 4 | |||
| 5 | 6 | 7 | 8 | 9 | 10 | 11 |
| 12 | 13 | 14 | 15 | 16 | 17 | 18 |
| 19 | 20 | 21 | 22 | 23 | 24 | 25 |
| 26 | 27 | 28 | 29 | 30 |