
티스토리 뷰
https://ing-min.tistory.com/278
AI_Genesis_install_ Macbook pro 2019_ intel
https://github.com/Genesis-Embodied-AI/Genesis GitHub - Genesis-Embodied-AI/Genesis: A generative world for general-purpose robotics & embodied AI learning.A generative world for general-purpose robotics & embodied AI learning. - Genesis-Embodied-AI/Genes
ing-min.tistory.com
설치 방법은 위의 링크
https://genesis-world.readthedocs.io/en/latest/user_guide/index.html
공식 문서링크

(맥 m1 이상에서만 뷰어 제공된다)
https://hyundoil.tistory.com/422
[Genesis Part1] Genesis 알아보고 Ubuntu에서 구동해보기
1. 설치준비: 아니콘다, VScode가상환경 준비하기conda create -n genesis python=3.10 -y conda activate genesis Pytorch 설치하기conda install pytorch torchvision -c pytorch 확인 python import torch torch.cuda.is\_available()Genesis 설
hyundoil.tistory.com
이분 정리 진짜 잘되어있다..
visual Code 환경에서 코드 실행하기.
git 에서 샘플코드 받아서 실행하면 좀더 쉽다.
https://github.com/Genesis-Embodied-AI/Genesis
GitHub - Genesis-Embodied-AI/Genesis: A generative world for general-purpose robotics & embodied AI learning.
A generative world for general-purpose robotics & embodied AI learning. - Genesis-Embodied-AI/Genesis
github.com
cd "원하는 경로"
git clone 주소붙여넣기
cd 제네시스폴더
code .
제네시스 폴더에서 visual code 실행된다
1.Python 인터프리터 경로 수동 설정
Python 실행 파일 경로 확인 (선택 사항)
which python
명령 팔레트 열기
Cmd + Shift + P (macOS) **명령 팔레트(Command Palette)**를 엽니다.

"Python: Select Interpreter" 검색
명령 팔레트에 Python: Select Interpreter를 입력하고 선택하세요.

"Enter interpreter path" 선택
나타나는 옵션에서 **"Enter interpreter path"**를 선택합니다.

Python 경로 입력
터미널에서 which python 명령어로 확인한 gene 가상환경의 Python 경로를 입력합니다.

/opt/miniconda3/envs/gene/bin/python


Cursor 재시작
Python 경로 설정 후, Cursor를 재시작하여 변경 사항을 적용합니다.
2. 콘솔창에서 가상환경 활성화.
conda activate 가상환경이름
3. 파이썬 파일 코드 짜기.
import taichi as ti

ti.init(arch=ti.cpu)  # GPU가 있다면 ti.gpu로 변경 가능

num_particles = 1000
positions = ti.Vector.field(2, dtype=ti.f32, shape=num_particles)
velocities = ti.Vector.field(2, dtype=ti.f32, shape=num_particles)

@ti.kernel
def initialize():
    for i in range(num_particles):
        positions[i] = ti.Vector([ti.random(), ti.random()])
        velocities[i] = ti.Vector([0.0, 0.0])

@ti.kernel
def update():
    for i in range(num_particles):
        velocities[i] += ti.Vector([0, -0.0005])  # 중력 효과
        positions[i] += velocities[i] * 0.01

initialize()

gui = ti.GUI("Particle Simulation", (800, 800))

# 무한 루프를 통해 GUI 창 유지
while gui.running:
    update()
    gui.clear(0x112F41)  # 배경 색상
    gui.circles(positions.to_numpy(), radius=1.5, color=0x66CCFF)
    gui.show()
4. 파이썬 파일 실행
python 내파일이름.py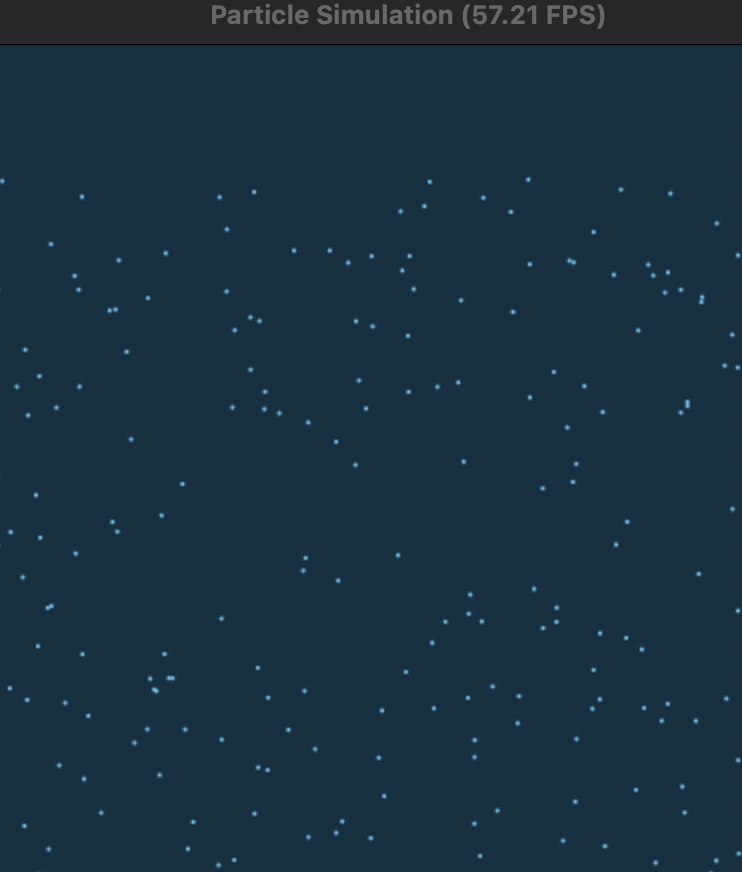
루프를 돌려놔서 종료하고싶으면 콘솔에서

ctrl + c
얘네가 제공하는 예제 쌤플 돌려보기
import argparse

import torch

import genesis as gs


def main():

    parser = argparse.ArgumentParser()
    parser.add_argument("-v", "--vis", action="store_true", default=False)
    args = parser.parse_args()

    ########################## init ##########################
    gs.init(backend=gs.cpu)

    ########################## create a scene ##########################

    scene = gs.Scene(
        sim_options=gs.options.SimOptions(),
        viewer_options=gs.options.ViewerOptions(
            camera_pos=(3.5, 0.0, 2.5),
            camera_lookat=(0.0, 0.0, 0.5),
            camera_fov=40,
        ),
        show_viewer=args.vis,
        rigid_options=gs.options.RigidOptions(
            dt=0.01,
            gravity=(0.0, 0.0, -10.0),
        ),
    )

    ########################## entities ##########################
    plane = scene.add_entity(gs.morphs.Plane())
    r0 = scene.add_entity(
        gs.morphs.MJCF(file="xml/franka_emika_panda/panda.xml"),
    )

    ########################## build ##########################
    scene.build()

    gs.tools.run_in_another_thread(fn=run_sim, args=(scene, args.vis))
    if args.vis:
        scene.viewer.start()


def run_sim(scene, enable_vis):
    from time import time

    t_prev = time()
    i = 0
    while True:
        i += 1

        scene.step()

        t_now = time()
        print(1 / (t_now - t_prev), "FPS")
        t_prev = t_now
        if i > 200:
            break

    if enable_vis:
        scene.viewer.stop()


if __name__ == "__main__":
    main()
실행 **
python 3.py -v파일이름.py -v
마지막에 -v를 붙여줘야한다 !!

다른것도 해보기
'AI > Generate img' 카테고리의 다른 글
| AI_Genesis : mac 환경 _ visualizing (0) | 2025.01.14 |
|---|---|
| AI_Genesis_Mac ) Example : Drone (0) | 2025.01.14 |
| AI_Genesis_install_ Macbook pro 2019_ intel (0) | 2025.01.13 |
| Mac _ intel _ 2019 _ Comfy UI_ 간단 설치 + ComfyUI Manager (0) | 2025.01.10 |
| AnimateDiff for ComfyUI(ComfyUI를 위한 AnimateDiff) (0) | 2024.07.11 |
- Total
- Today
- Yesterday
- opencv
- RNN
- AI
- 유니티
- 후디니
- node.js
- Java
- CNC
- Unity
- OpenClaw
- DeepLeaning
- VR
- MQTT
- three.js
- sequelize
- colab
- zclaw
- Midjourney
- Python
- docker
- VFXgraph
- Express
- opticalflow
- TouchDesigner
- ESP32
- Arduino
- 4d guassian splatting
- MCP
- houdini
- 라즈베리파이
| 일 | 월 | 화 | 수 | 목 | 금 | 토 |
|---|---|---|---|---|---|---|
| 1 | 2 | 3 | 4 | 5 | 6 | |
| 7 | 8 | 9 | 10 | 11 | 12 | 13 |
| 14 | 15 | 16 | 17 | 18 | 19 | 20 |
| 21 | 22 | 23 | 24 | 25 | 26 | 27 |
| 28 | 29 | 30 |