

티스토리 뷰
https://ing-min.tistory.com/186
Deforum-Stable-Diffusion_AE_motionBro_part2..
오 추가 설치만 하면 된다 !!! (아래 사이트에 자세히 나와있음) https://stable-diffusion-art.com/deforum/#Use_deforum_on_Google_Colab How to make a video with Stable Diffusion (Deforum) - Stable Diffusion Art Deforum is a tool to create
ing-min.tistory.com
AUTOMATIC1111 설치해 놨음. 위의 튜토리얼 따라하면됨.

터미널에서 <stable-diffusion-webui> 폴더 경로로들어간다
./webui.sh
실행
그리고 URL 주소가나온다.
http://127.0.0.1:7860/
이걸로 접속하면

터디에서 stable diffusion을 실행해보자.
stable diffusion webui 폴더 경로에서
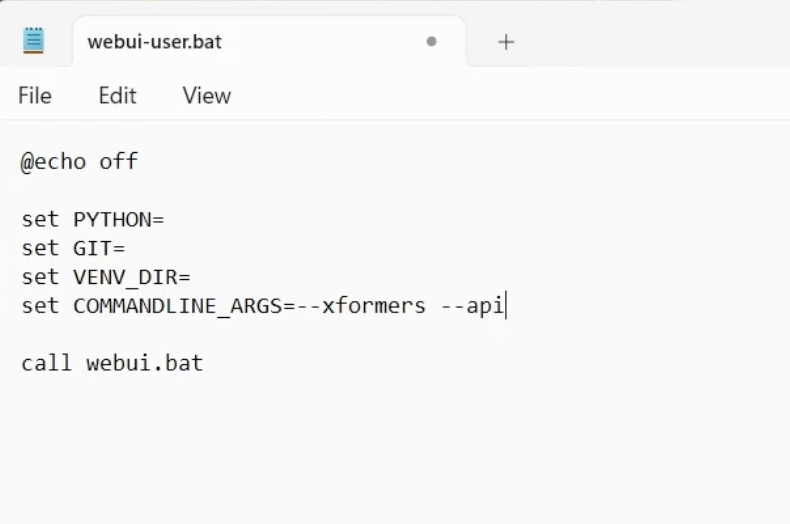
webui-user.bat 편집 위와 같이 적어주고 save as.
webui-user-api.bat
cmd에서 ./webui.sh 실행
http://127.0.0.1:7860/docs
----

일단 후디니켜주고 (무료라이센스)

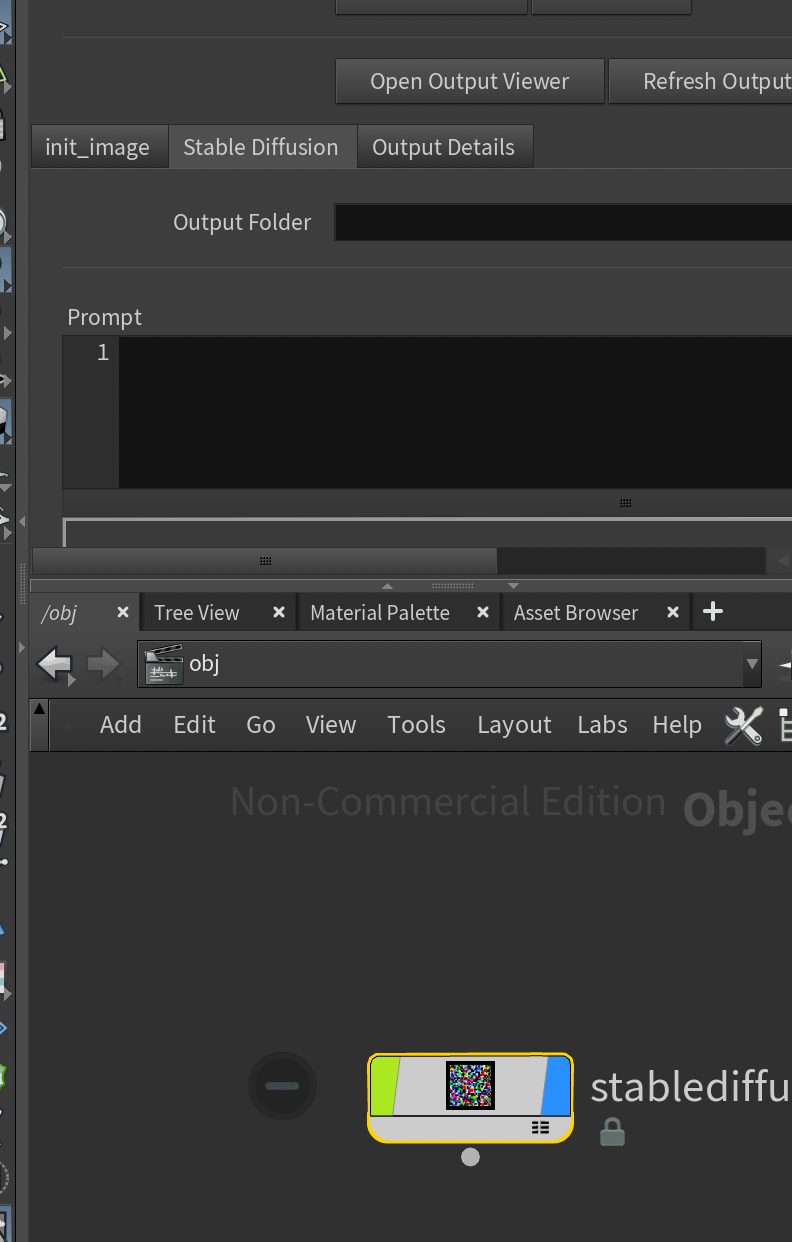
후디니에서
예제파일 - 스테이블 디퓨전 노드 - 스테이블 디퓨전 탭 - server parameter

python3 에 python exe을 넣어줌
(나같이 아나콘다에서 설치했다면 . 사용자/opt/anaconda3/bin/python.exe)

새로운 폴더 만듦


Gnerate Batch File

bat 생김 - 이 파일 run
-> mac에서 안됨. .sh파일로 번역하랬음 (GPT가)
주어진 명령을 macOS용 스크립트로 변환하려면 Unix 계열 시스템의 경로 구분 기호를 에서 로 조정 하고 가상 환경에 대한 활성화 명령을 수정 .sh해야 합니다 . Python 및 pip 명령은 대체로 동일하게 유지됩니다. 주어진 배치 명령을 쉘 스크립트로 변환하는 방법은 다음과 같습니다.\/
코드 복사
#!/bin/bash
# Create a virtual environment with clearing any existing one at the same path
/Users/사용자이름/opt/anaconda3/bin/python.app -m venv --clear /Users/엔브경로/VR_ENV/SDVRENV

# Activate the virtual environment
source /Users/엔브경로/VR_ENV/SDVRENV/bin/activate

# Upgrade pip in the virtual environment
pip install --upgrade pip

# Install the required packages
pip install stability-sdk
pip install ipython
pip install pillow

# Wait for user input before closing the script (similar to 'pause' in batch)
read -p "Press any key to continue... " -n1 -s

echo # Optionally add an echo command for a new line after pressing the key
macOS에서 이 스크립트를 사용하려면:
.sh확장자를 가진 새 파일 (예: ) 을 만들고 create_env.sh위의 스크립트를 이 파일에 붙여넣습니다.
터미널에서 다음 명령을 실행하여 스크립트를 실행 가능하게 만듭니다 .
세게 때리다
코드 복사
chmod +x /path/to/create_env.sh
/path/to/create_env.sh스크립트의 실제 경로로 바꾸십시오 .
스크립트 가 포함된 디렉터리로 이동하고 다음을 실행하여 스크립트를 실행합니다.
./create_env.sh
뭔가 계속 설치됨.

다시 후디니 . sever : 드림스튜디오 (stabel diffusion API연결해줌)

https://beta.dreamstudio.ai/generate
DreamStudio
beta.dreamstudio.ai
로그인하고 API key. 복붙

렌더이미지 저장할 경로 폴더 만들기

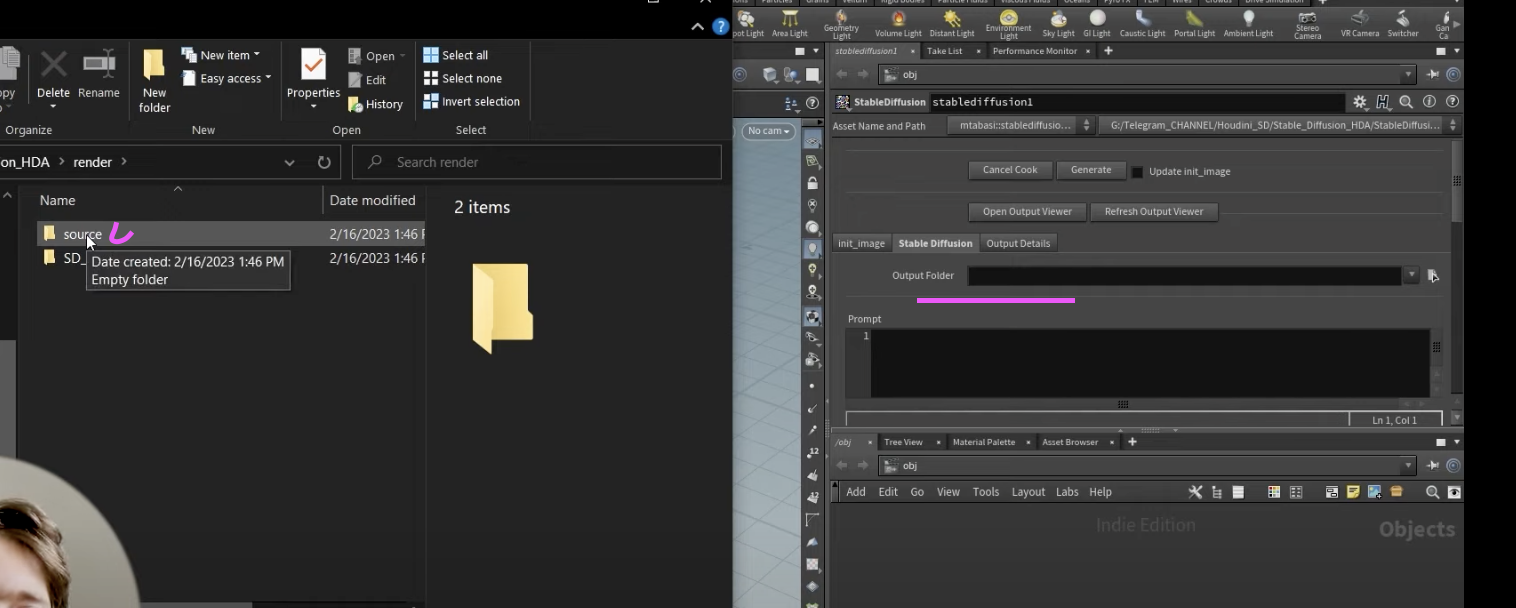
stable diffusion 탭 제일 위쪽에 source폴더
init image 탭 ouput picture - SD_render
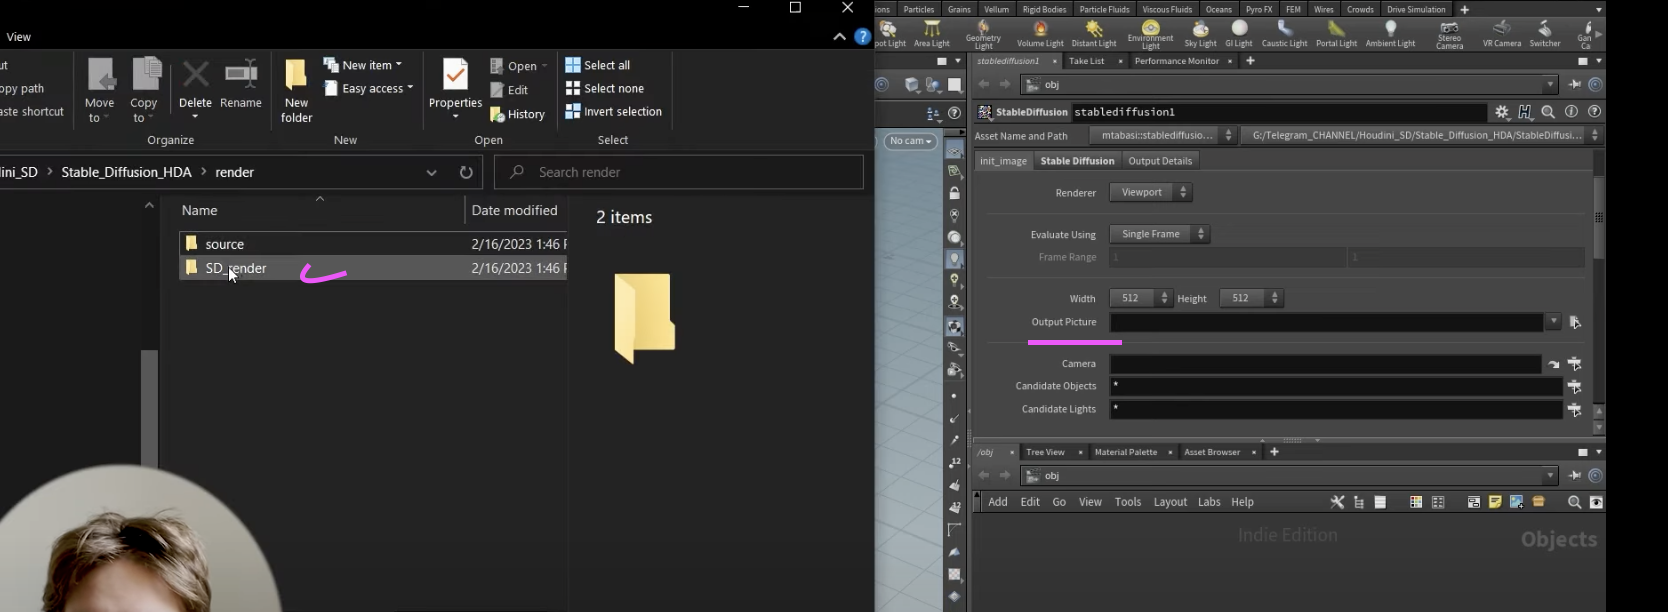

이름을 프레임을통해 겹치지 않게 저장.
init img: 카메라 추가


stable 탭

아래 기타 설정하고
generate 누르면
음..

'후디니' 카테고리의 다른 글
| 후디니 위도경도 지도 map data 연결 (0) | 2025.11.30 |
|---|---|
| Houdini(Data Visualization) _ GEO : .shp 데이터 불러오기 / .geoJson (0) | 2025.11.06 |
| houdini_기초 (1) | 2024.02.25 |
| houdini _ procedural modeling _01 (0) | 2024.01.26 |
| houdini_ math (1) | 2024.01.26 |
- Total
- Today
- Yesterday
- opencv
- DeepLeaning
- Unity
- MQTT
- MCP
- 라즈베리파이
- krea
- RNN
- Java
- docker
- OpenClaw
- 4d guassian splatting
- three.js
- TouchDesigner
- Arduino
- 4dgs
- sequelize
- AI
- colab
- Python
- CNC
- houdini
- node.js
- Midjourney
- VFXgraph
- 유니티
- opticalflow
- 후디니
- Express
- VR
| 일 | 월 | 화 | 수 | 목 | 금 | 토 |
|---|---|---|---|---|---|---|
| 1 | 2 | 3 | 4 | 5 | 6 | 7 |
| 8 | 9 | 10 | 11 | 12 | 13 | 14 |
| 15 | 16 | 17 | 18 | 19 | 20 | 21 |
| 22 | 23 | 24 | 25 | 26 | 27 | 28 |